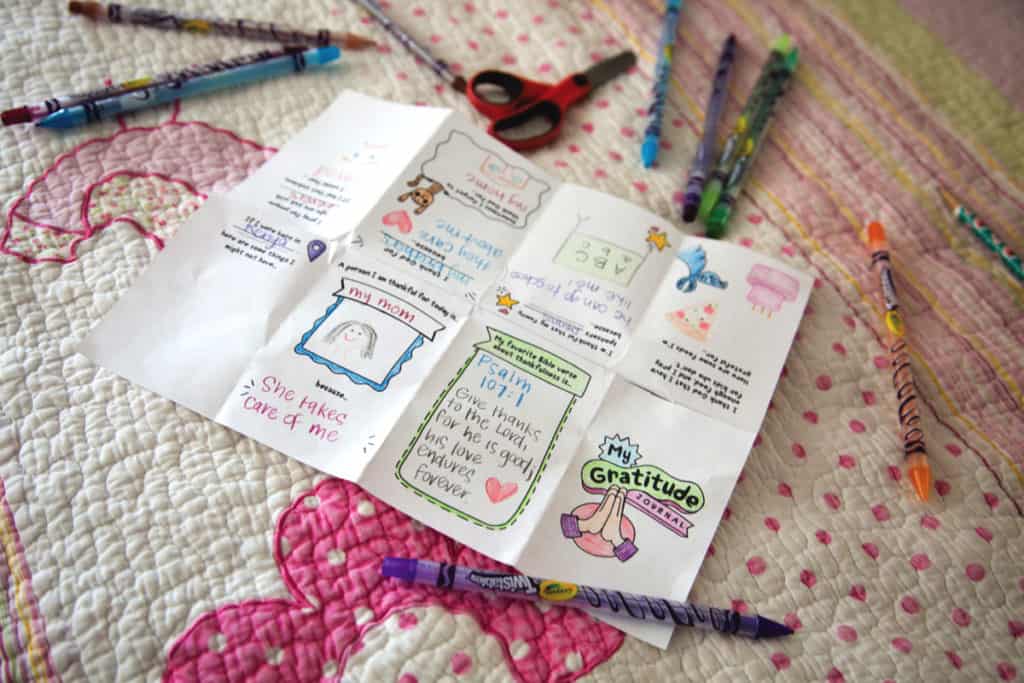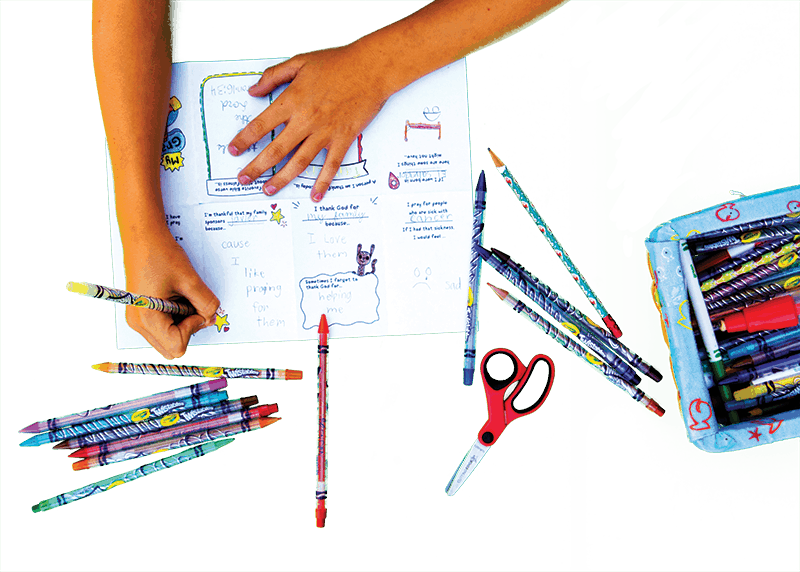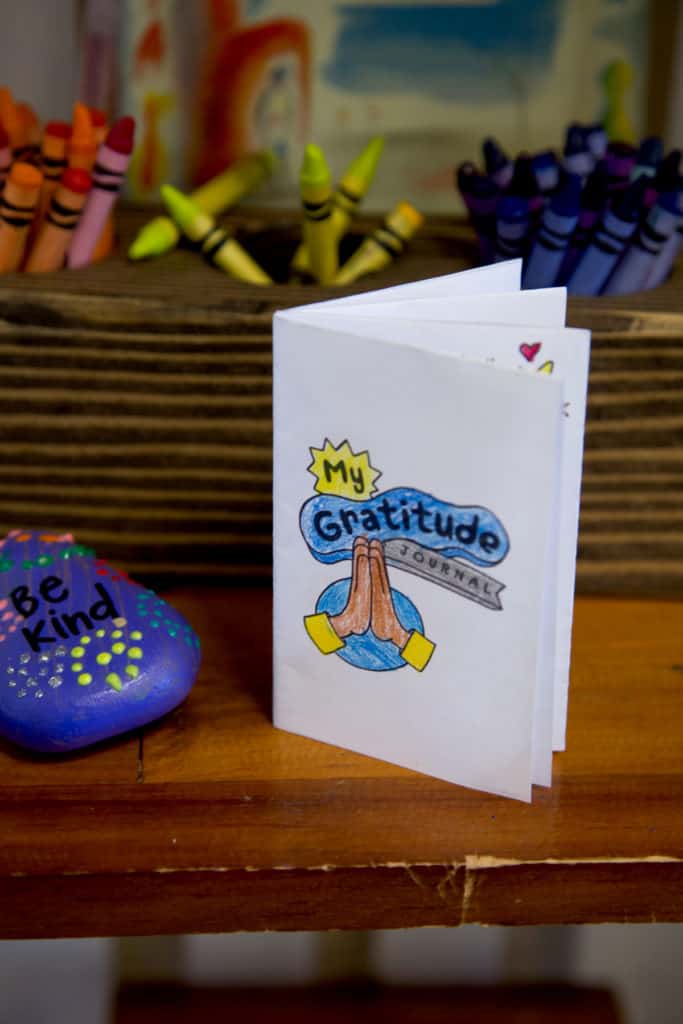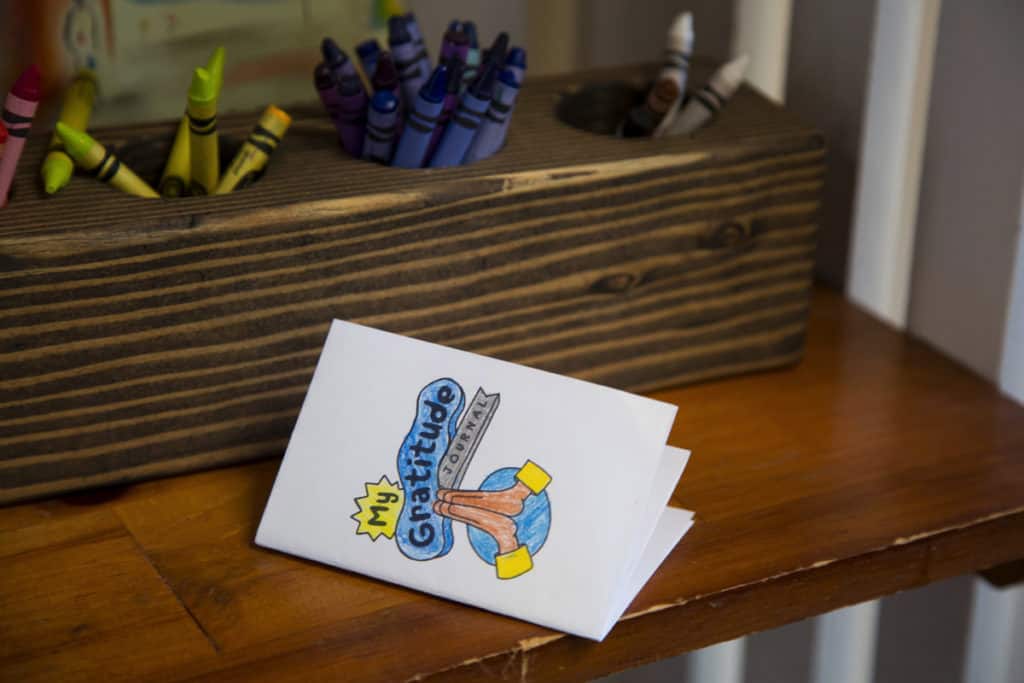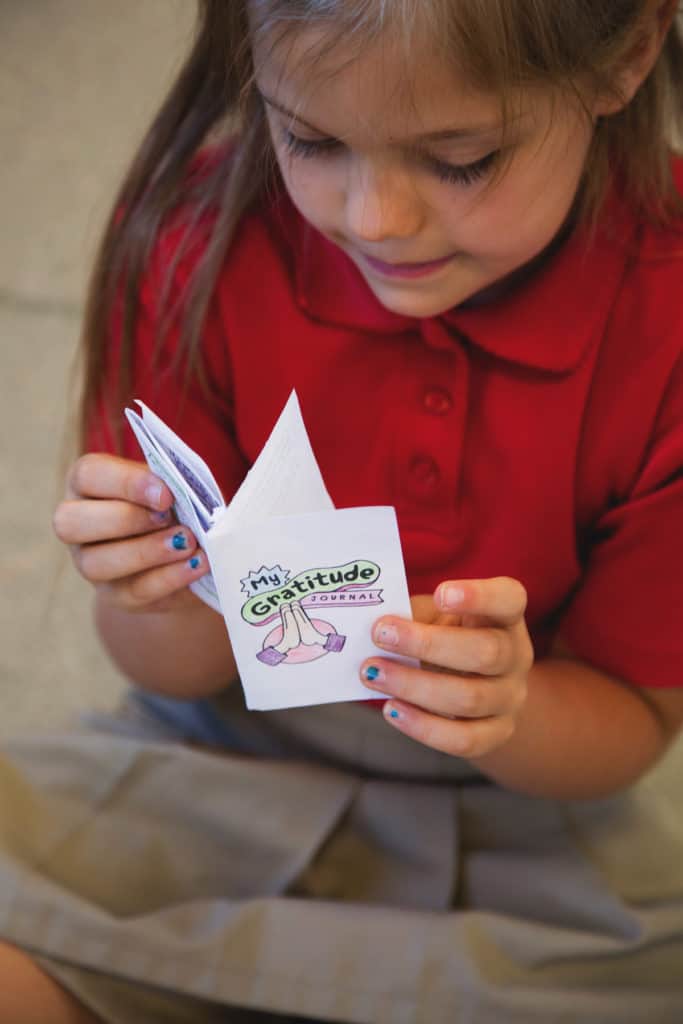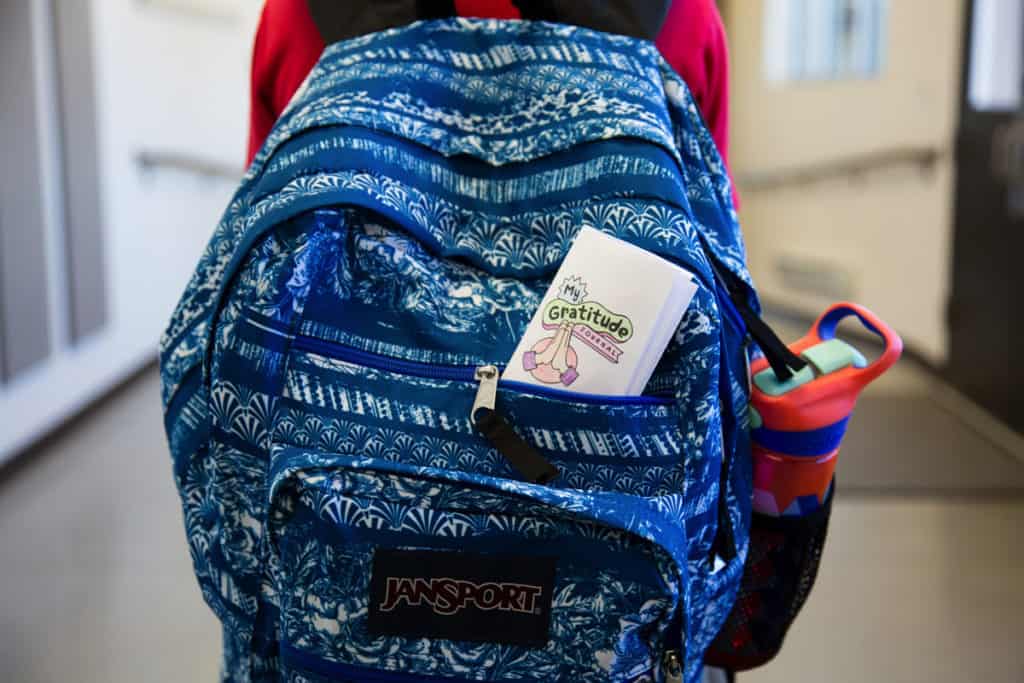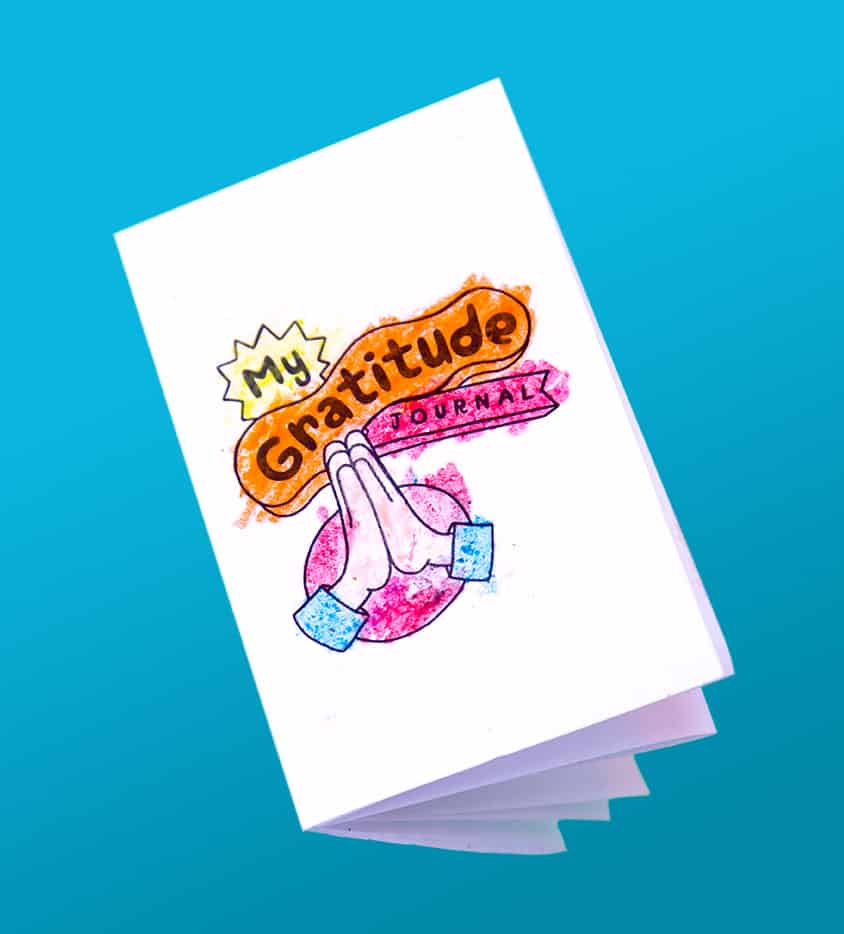
Writing down your thoughts can help you learn more about yourself, figure out how you feel, and help you make lasting memories. Writing down the people and things you’re thankful for can help you grow in happiness. Make this mini gratitude journal to remember to give thanks for all the awesomeness in your life — and show off your crafty side too!
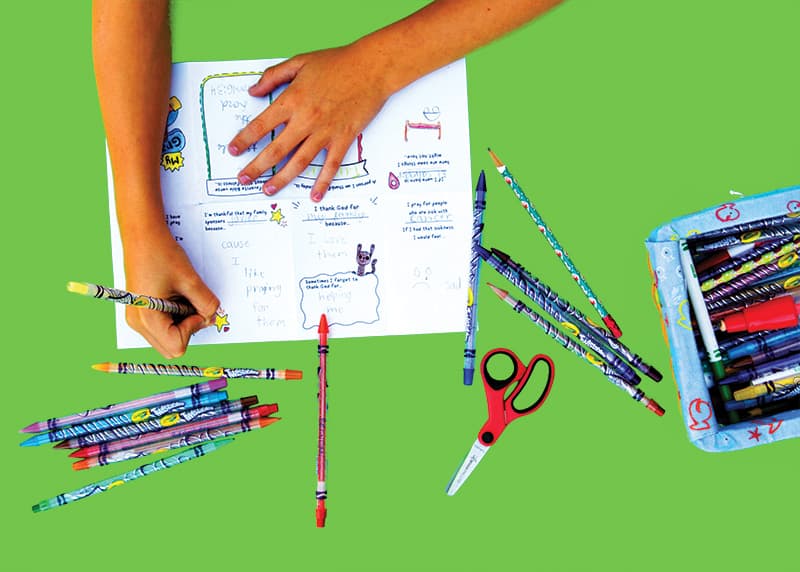
Supplies
Basic Supplies
- blank 8”x11” sheet of paper (or download our template)
- scissors
- pencil
Creative Supplies
The way you decorate your journal is up to you. Here are some ideas for decorative supplies:
- markers
- colored pencils
- crayons
- washi tape
- stickers
- old magazines
- watercolors
- envelopes
- ribbon
- glue stick

Step 1
Adult help needed. Place the paper in front of you with the shorter edges on top and bottom, longer edges on the left and right. Fold it in half, bringing the top edge to meet the bottom edge. Fold it in half, bringing the top edge to meet the bottom edge. Fold in half again, bringing the left edge to meet the right edge. Finally, fold in half again by bringing the top edge to meet the bottom edge.

Step 2
Unfold one fold. Then unfold one more. One of the long edges will have an opening, and the other will be closed along the fold. Starting at the closed edge, cut halfway across along the middle crease. Unfold the whole sheet of paper. It should have a slit in the middle.

Step 3
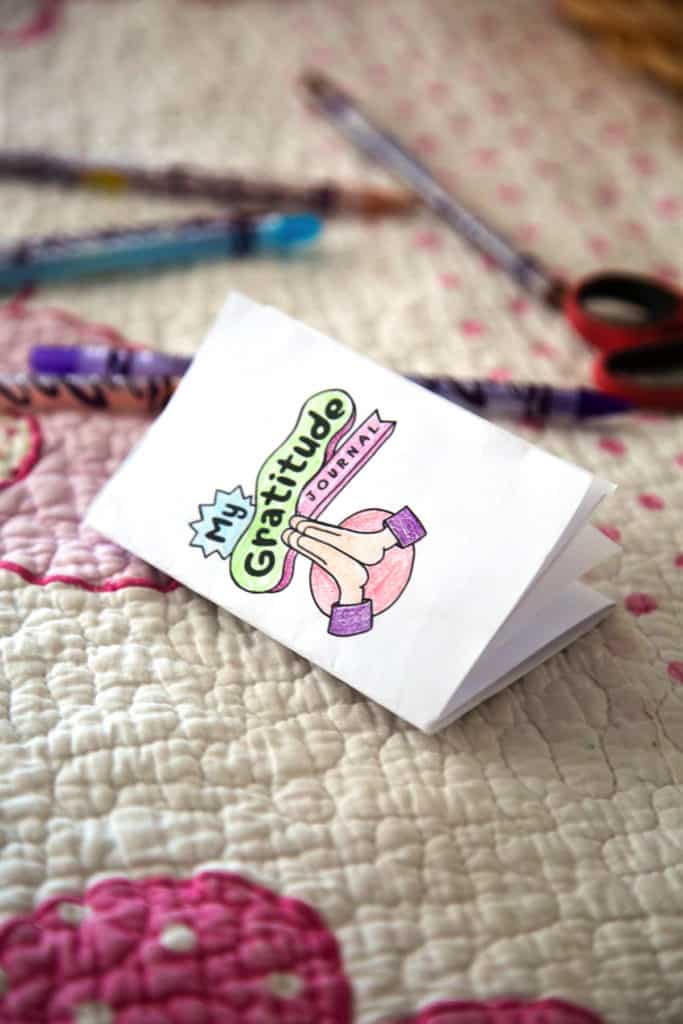
Fold the paper lengthwise along the crease with the slit. Then hold the paper at both ends and push inward. The sections should fold in to form an eight-page mini-book.
Step 4
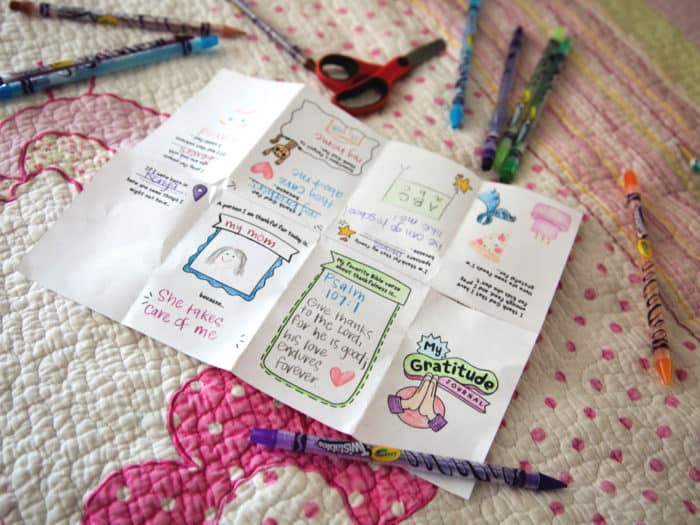
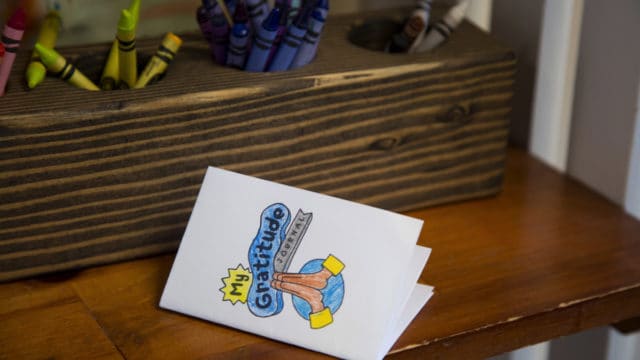
Now it's time to get creative! Think of a title for your mini gratitude journal, and write it on the cover. Use craft supplies to decorate the cover how you want. Then write a “thought starter” at the top of each page (examples below). Leave space to write or draw beneath it.
Step 5
Fill it in! Write about, draw, or glue magazine clippings on the pages. You could fill out your journal all at once, or maybe just once or twice a week until it’s full. Then make another one! You could start a whole collection, or include one for your sponsored child next time you write to him or her.
Supplies

Basic Supplies
- blank 8”x11” sheet of paper (or download our template)
- scissors
- pencil
Creative Supplies
The way you decorate your journal is up to you. Here are some ideas for decorative supplies:
- markers
- colored pencils
- crayons
- washi tape
- stickers
- old magazines
- watercolors
- envelopes
- ribbon
- glue stick
Step 1

Adult help needed. Place the paper in front of you with the shorter edges on top and bottom, longer edges on the left and right. Fold it in half, bringing the top edge to meet the bottom edge. Fold it in half, bringing the top edge to meet the bottom edge. Fold in half again, bringing the left edge to meet the right edge. Finally, fold in half again by bringing the top edge to meet the bottom edge.
Step 2

Unfold one fold. Then unfold one more. One of the long edges will have an opening, and the other will be closed along the fold. Starting at the closed edge, cut halfway across along the middle crease. Unfold the whole sheet of paper. It should have a slit in the middle.
Step 3

Fold the paper lengthwise along the crease with the slit. Then hold the paper at both ends and push inward. The sections should fold in to form an eight-page mini-book.
Step 4

Now it's time to get creative! Think of a title for your mini gratitude journal, and write it on the cover. Use craft supplies to decorate the cover how you want. Then write a “thought starter” at the top of each page (examples below). Leave space to write or draw beneath it.
Step 5

Fill it in! Write about, draw, or glue magazine clippings on the pages. You could fill out your journal all at once, or maybe just once or twice a week until it’s full. Then make another one! You could start a whole collection, or include one for your sponsored child next time you write to him or her.

