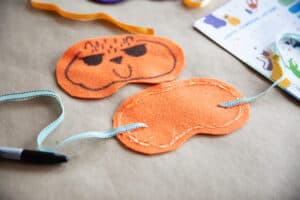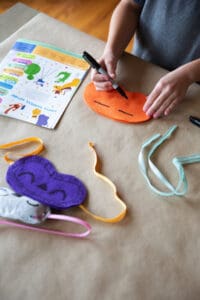
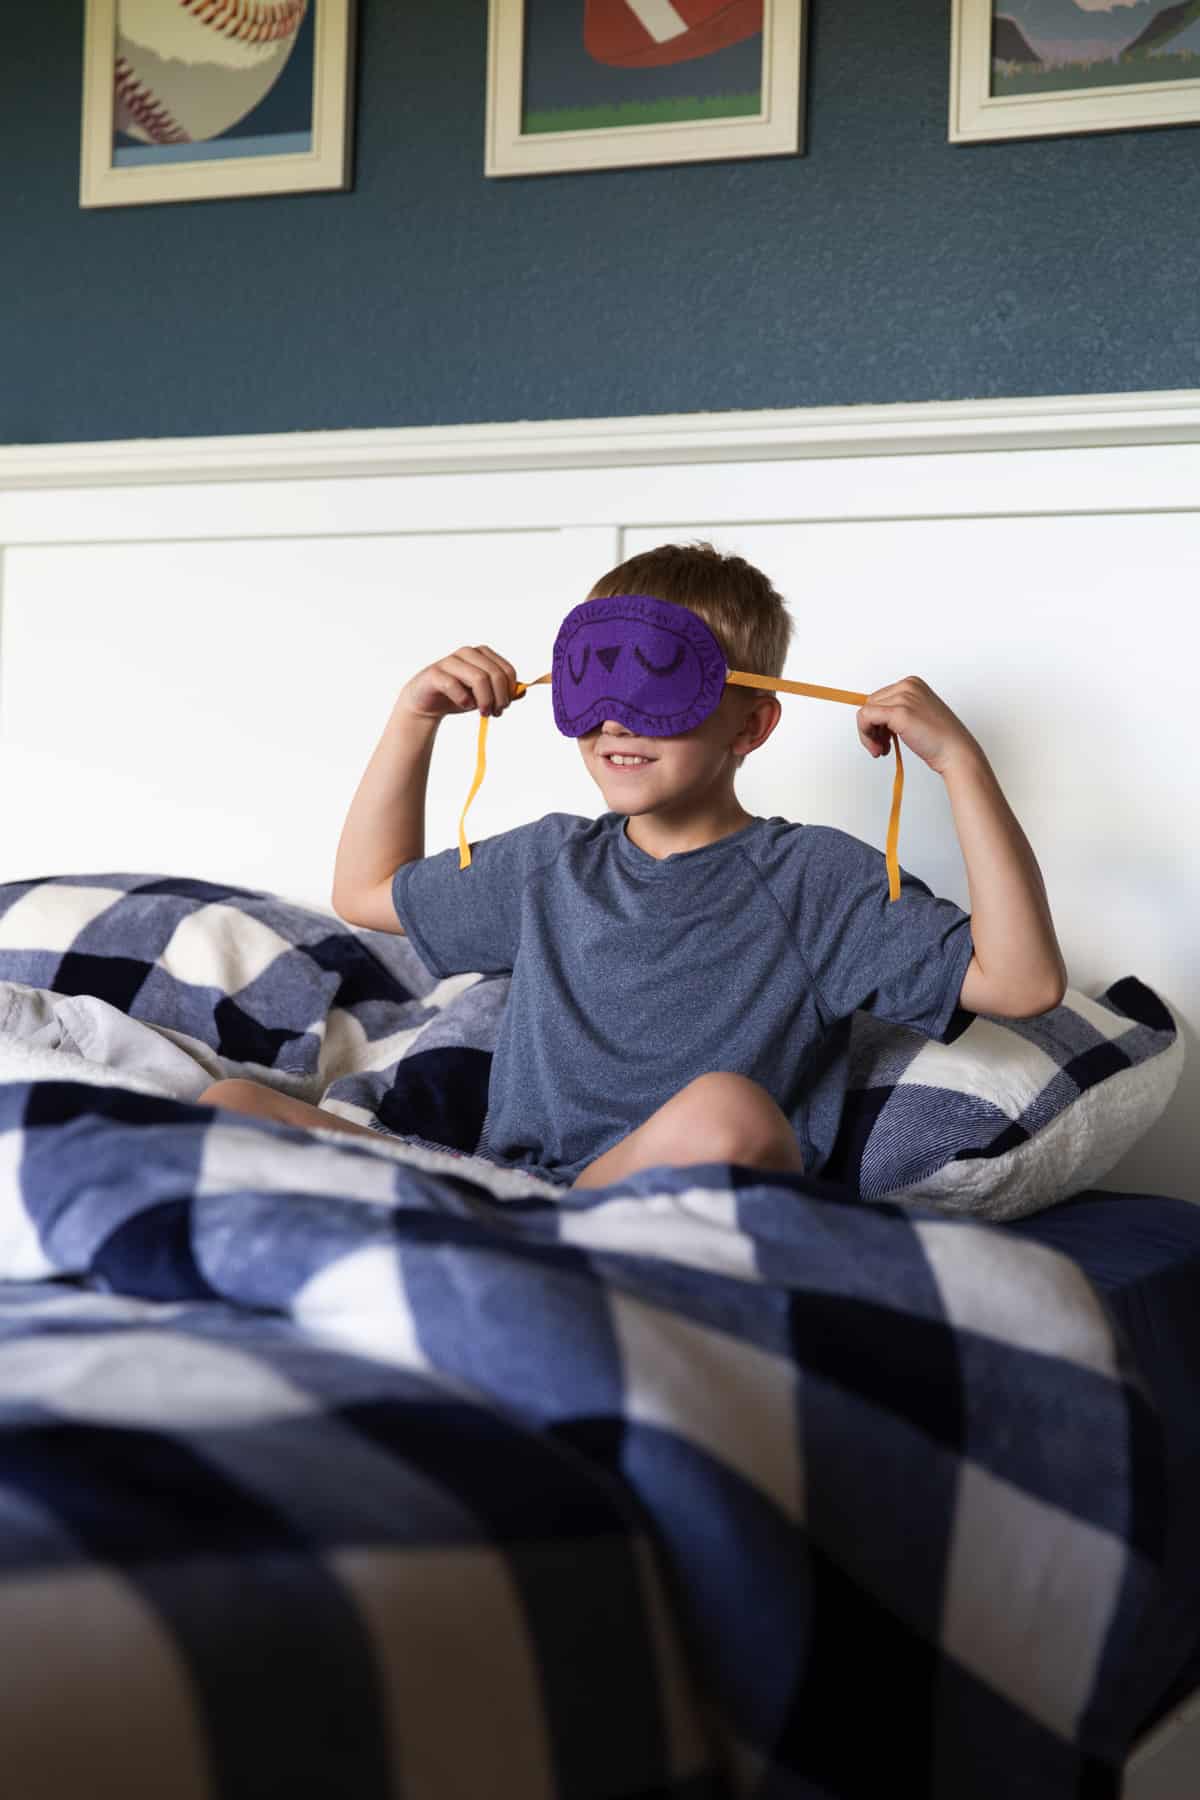
A sleep mask is a fun way to help you get your best rest. It helps block the sun and other lights from waking you up in the morning.
All you need to make your own sleep mask is some fleece scraps and glue! Then you'll have a cozy mask to help you fall and stay asleep.
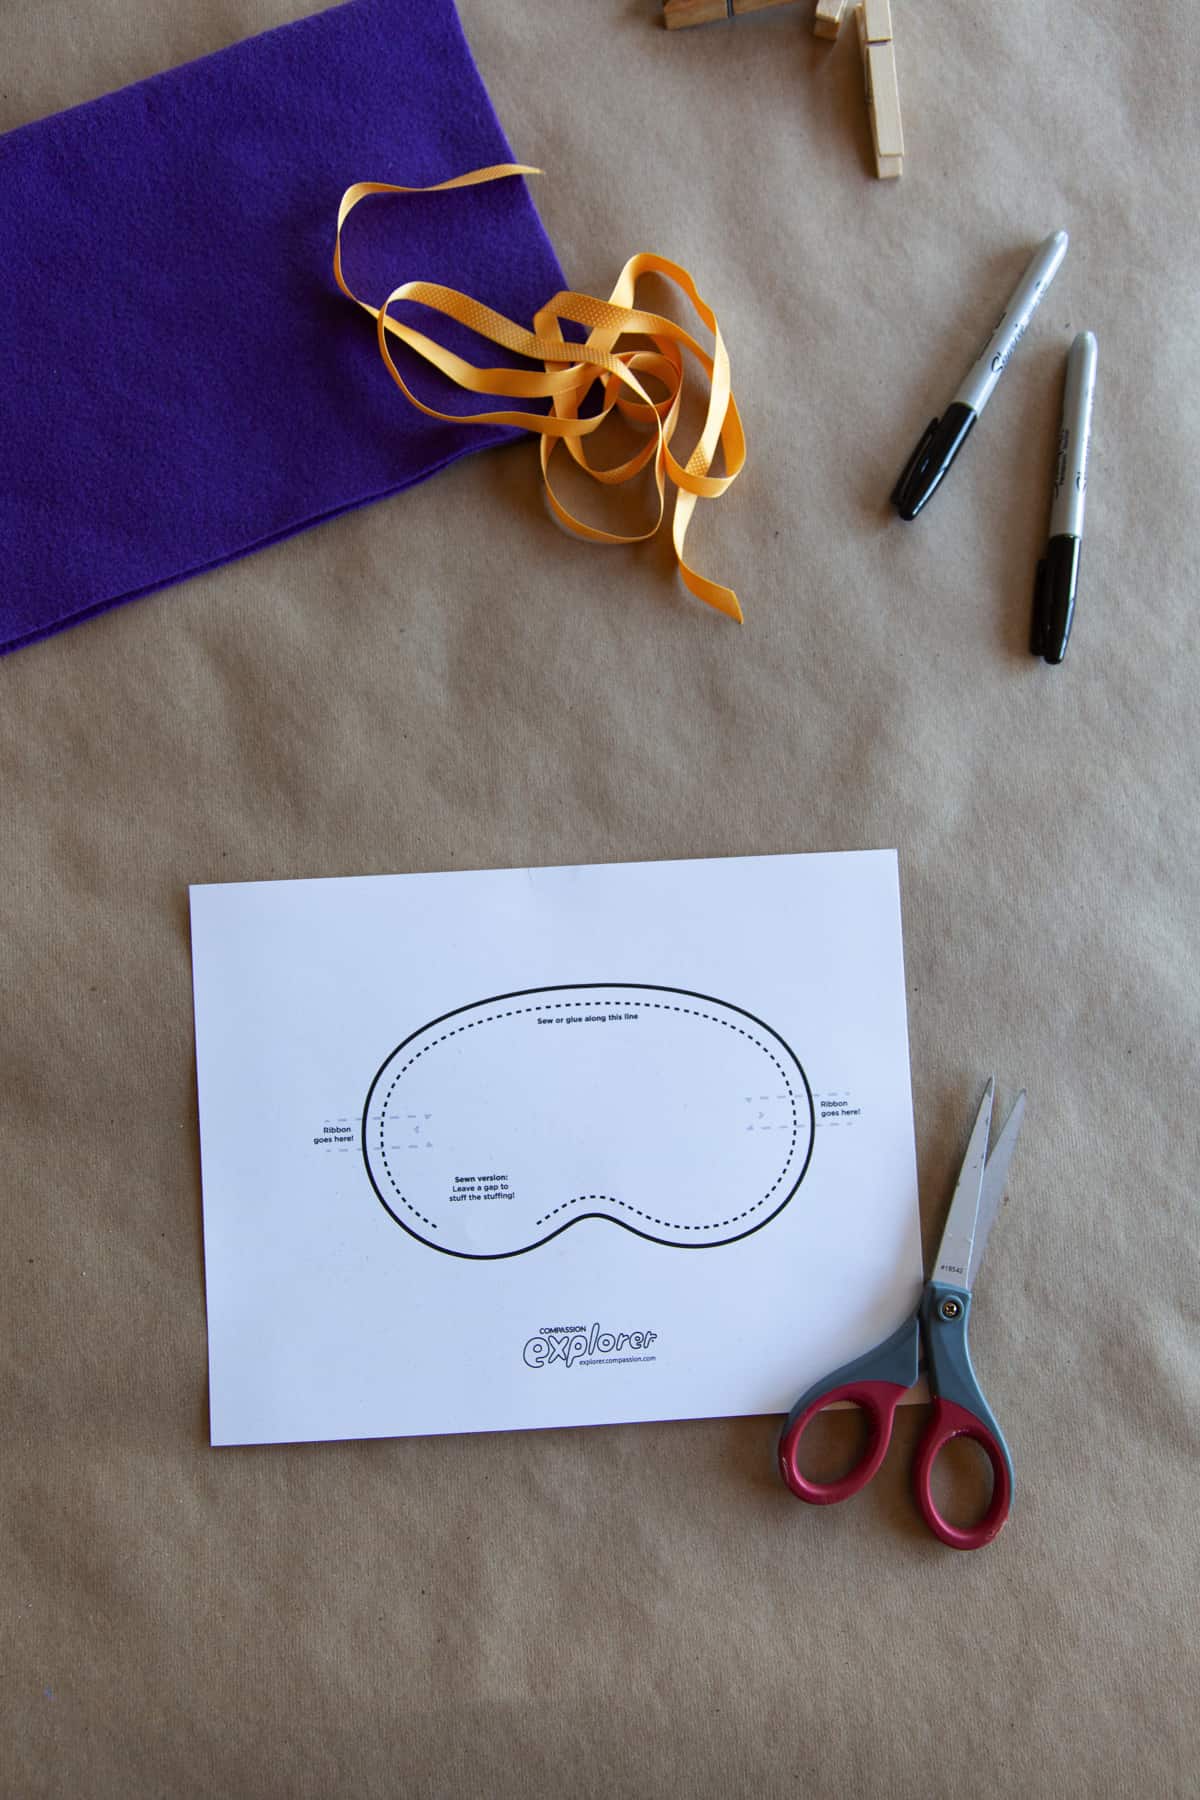
Supplies
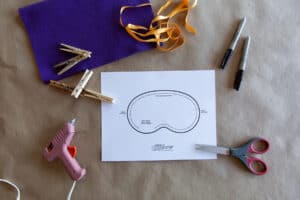
- Template.
- Fleece scraps or any soft fabric.
- Permanent marker.
- Fabric glue or a hot glue gun.
- Wax paper.
- Ribbon or elastic for ties.
- Clothespins.
If you want to sew your mask:
- Needle and thread
Step 1
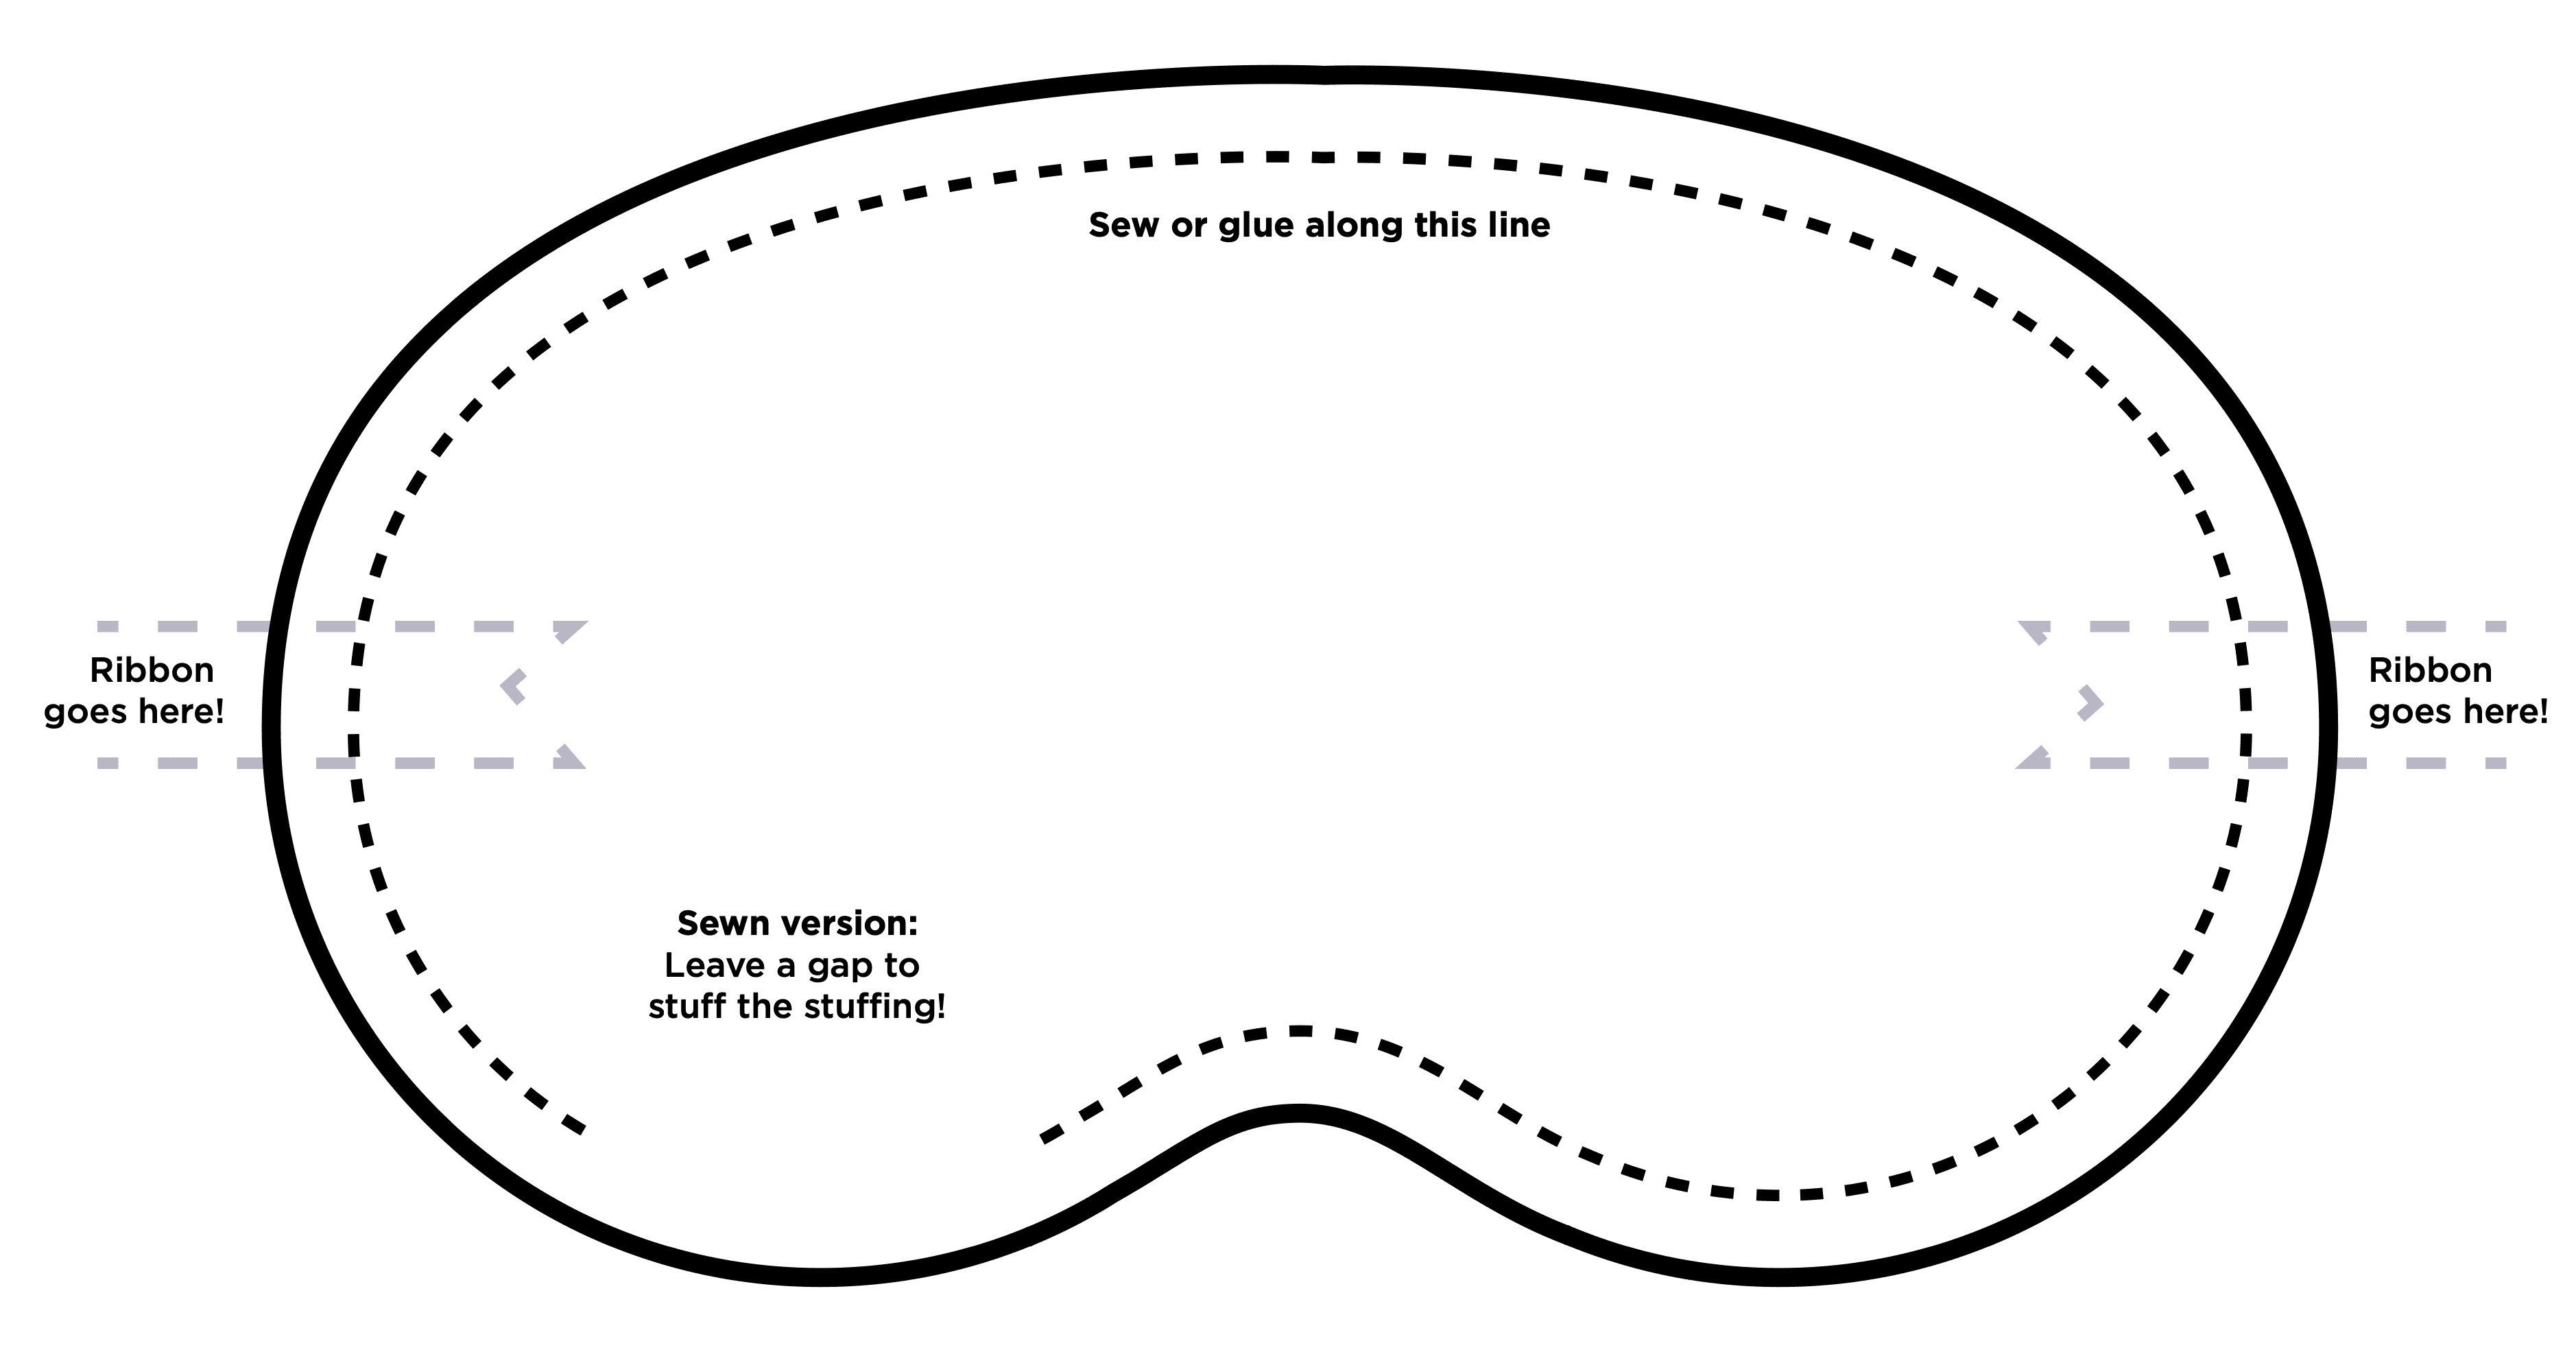
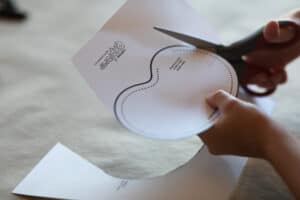
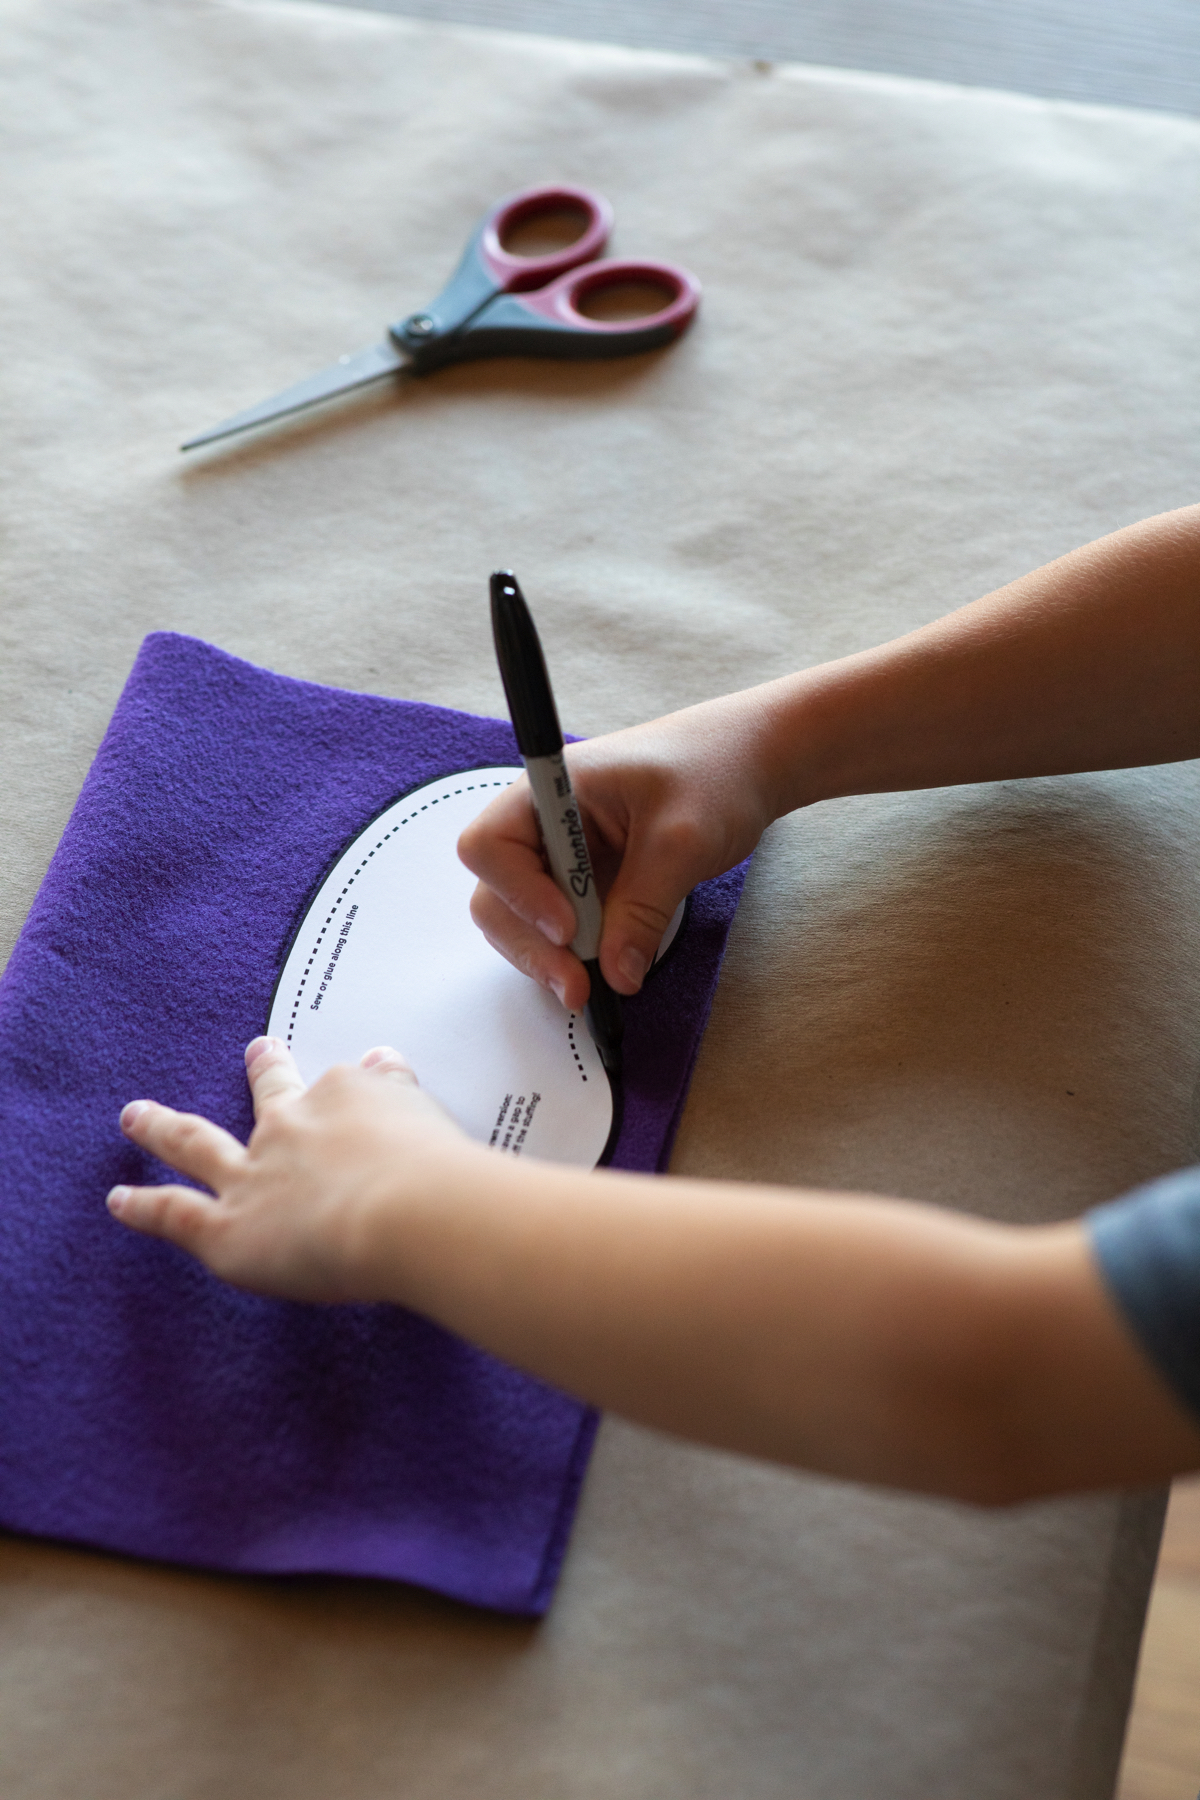
Adult help needed. Make your template. You can print out the template on this page. Or you can borrow a sleep mask and trace it or draw one that will fit over your eyes.
Step 2
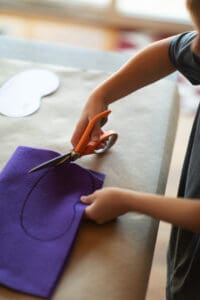
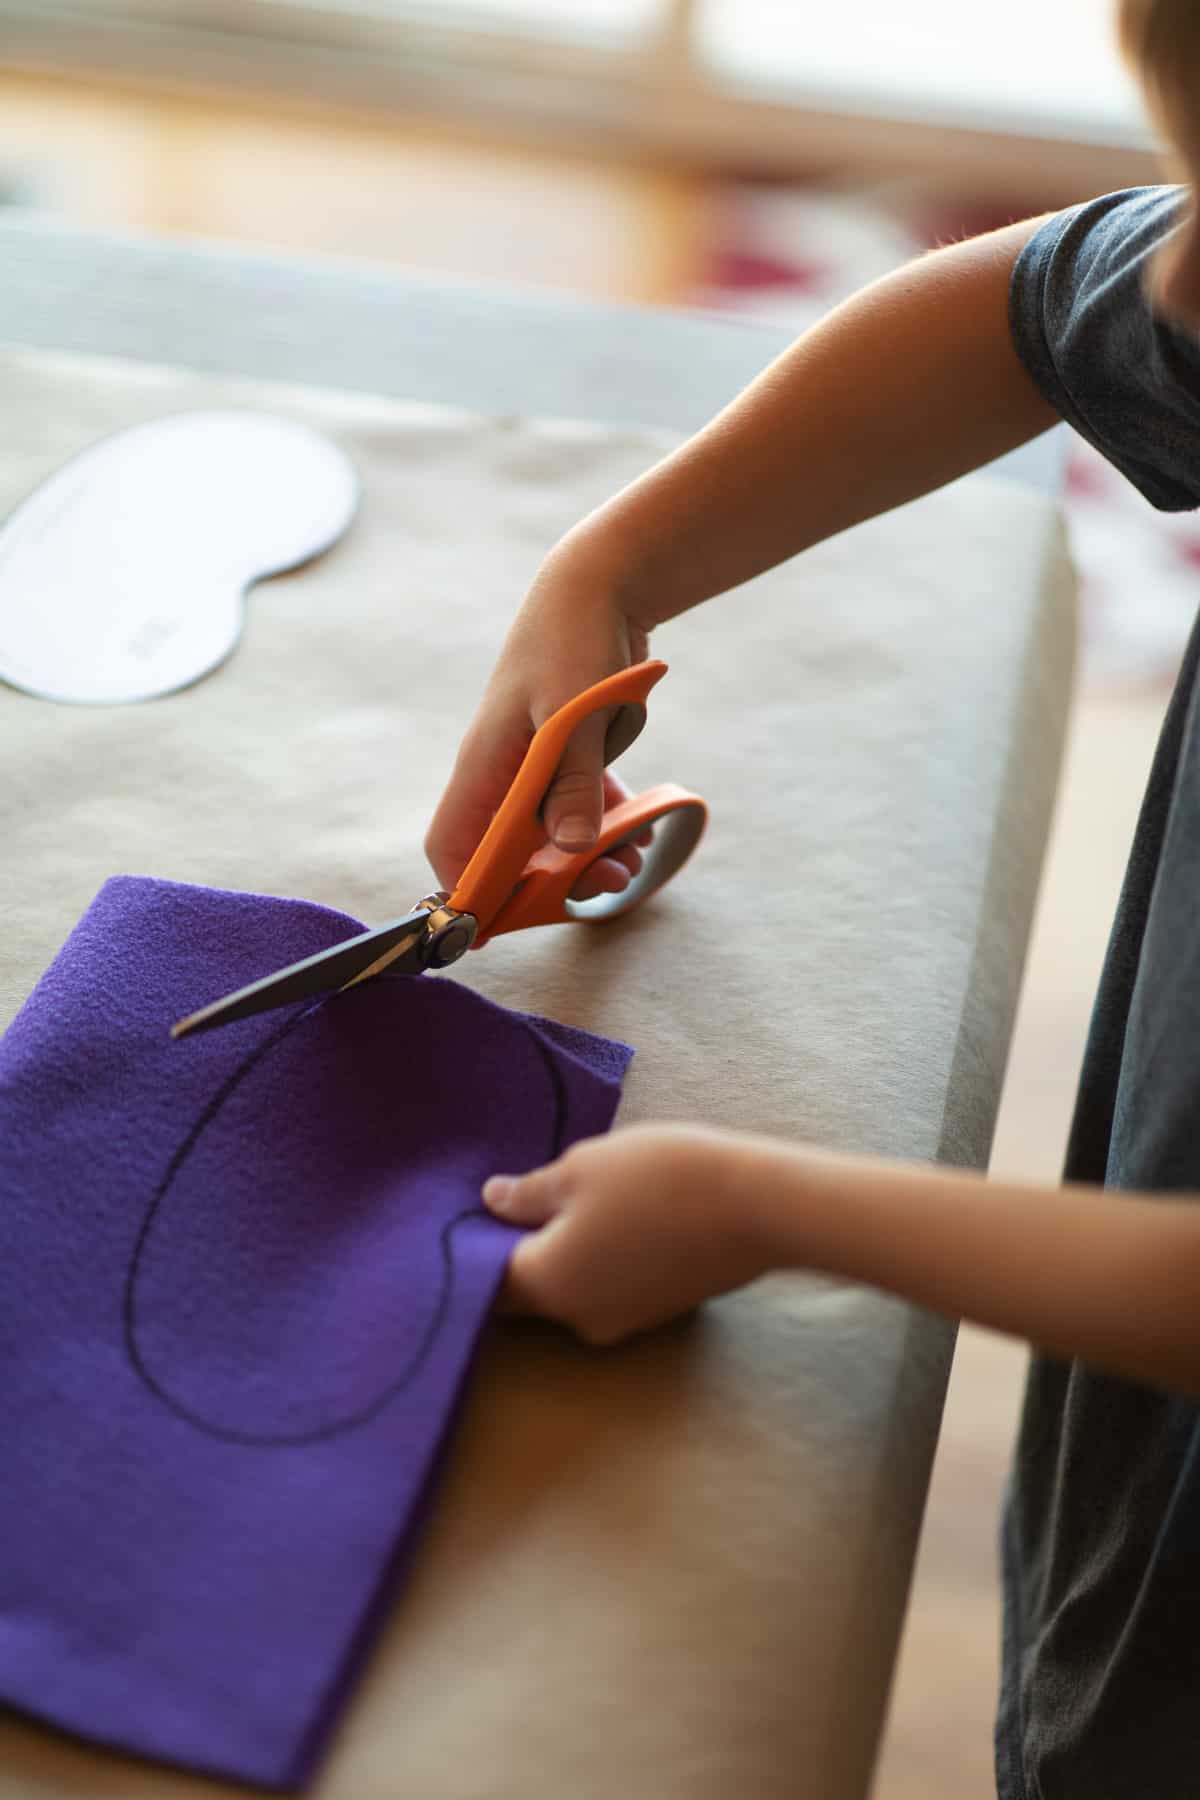
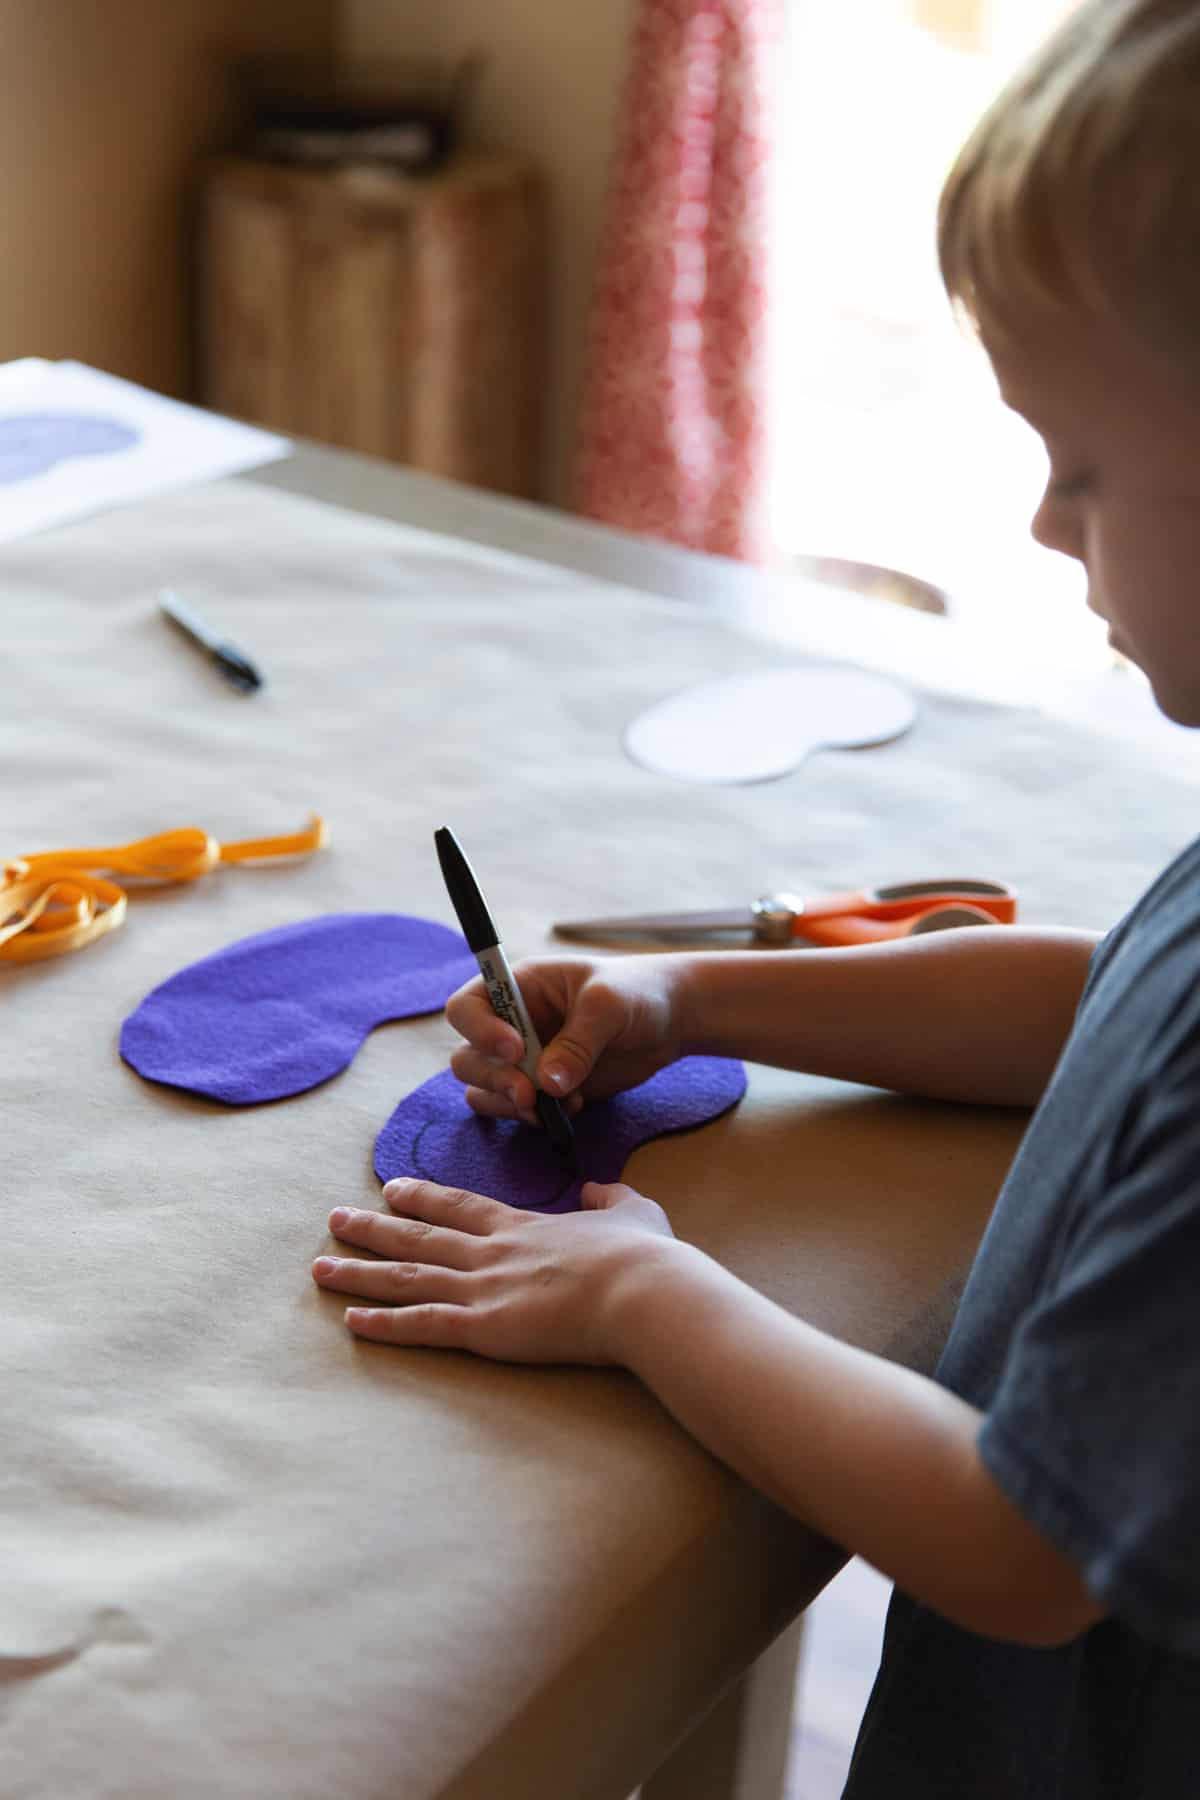
Choose your fabric and colors. Trace your template on the fabric two times and cut it out. You’ll have two identical pieces.
Step 3
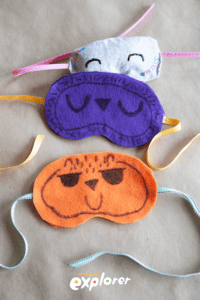
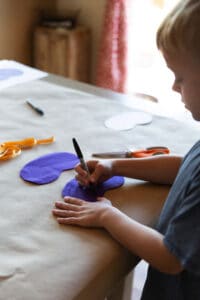
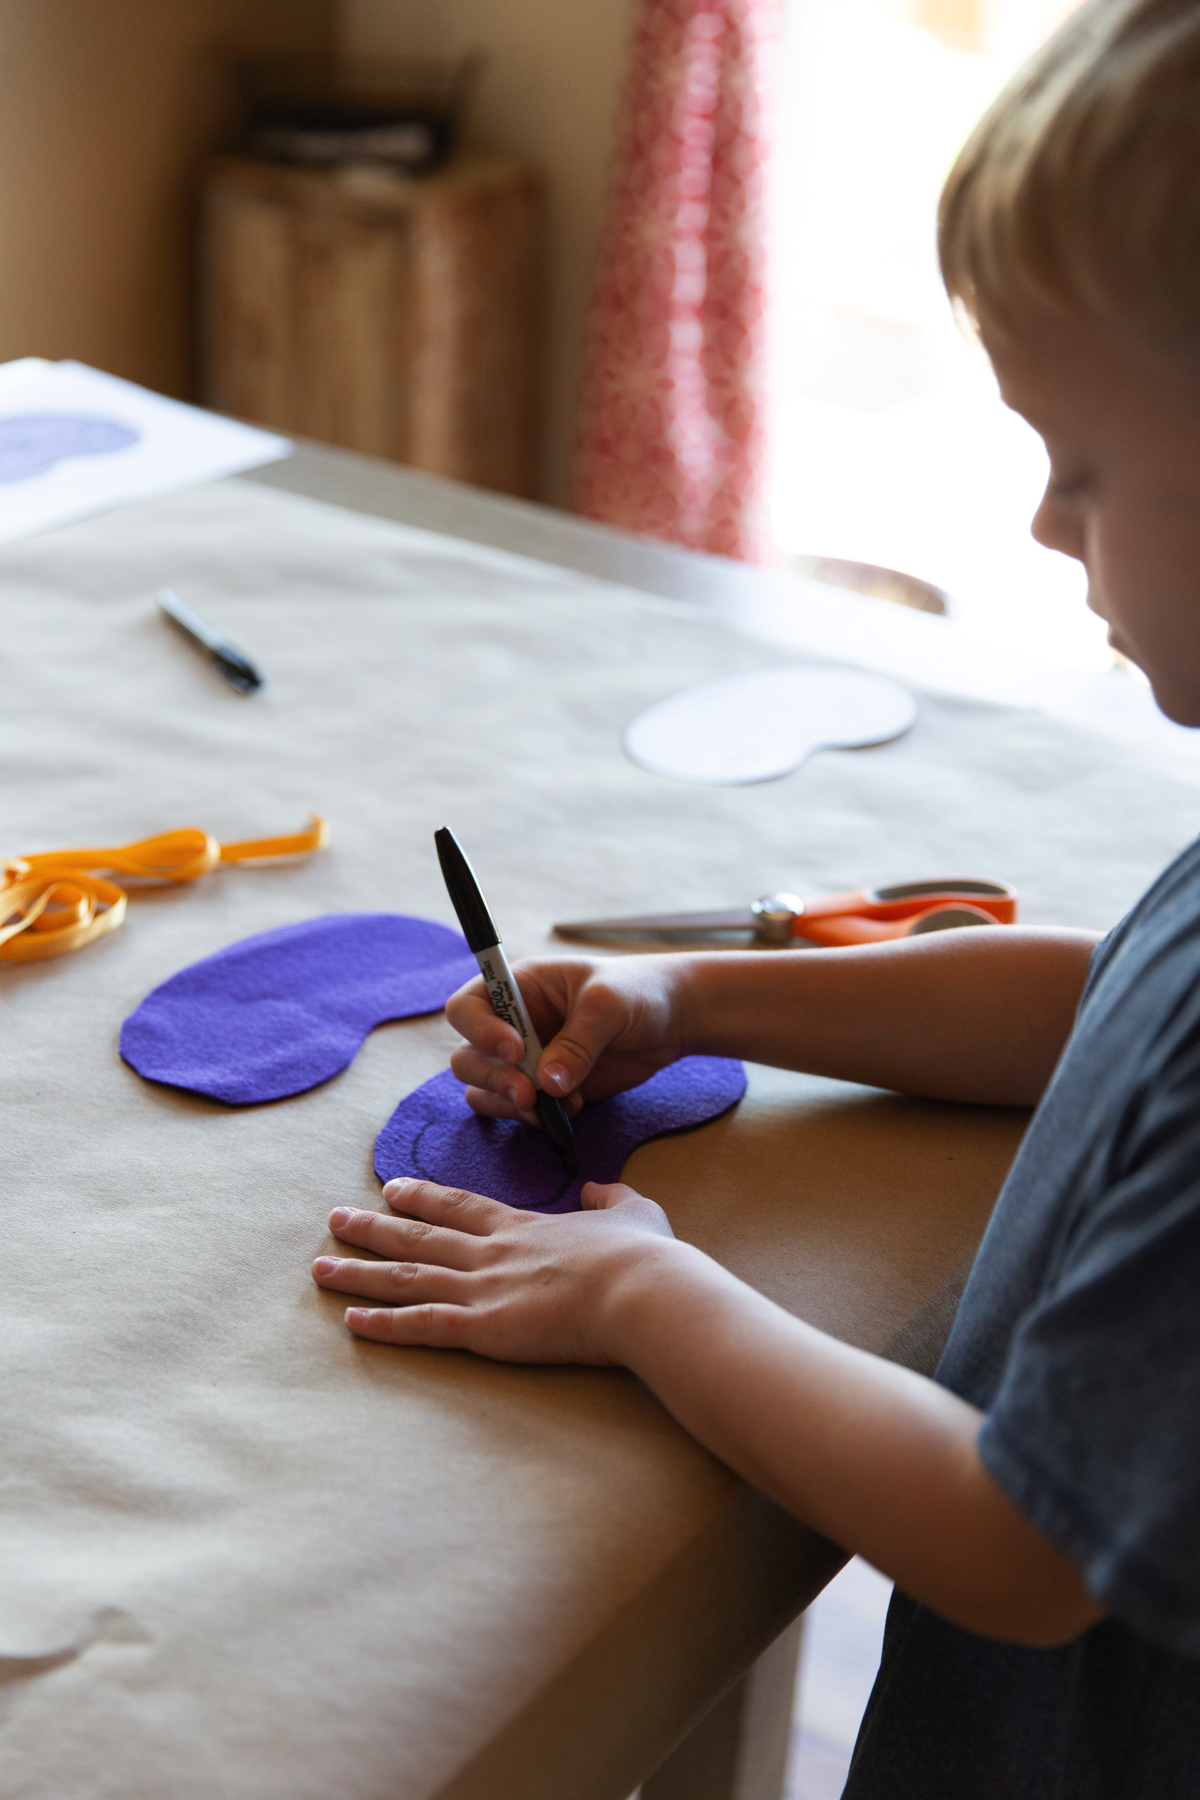
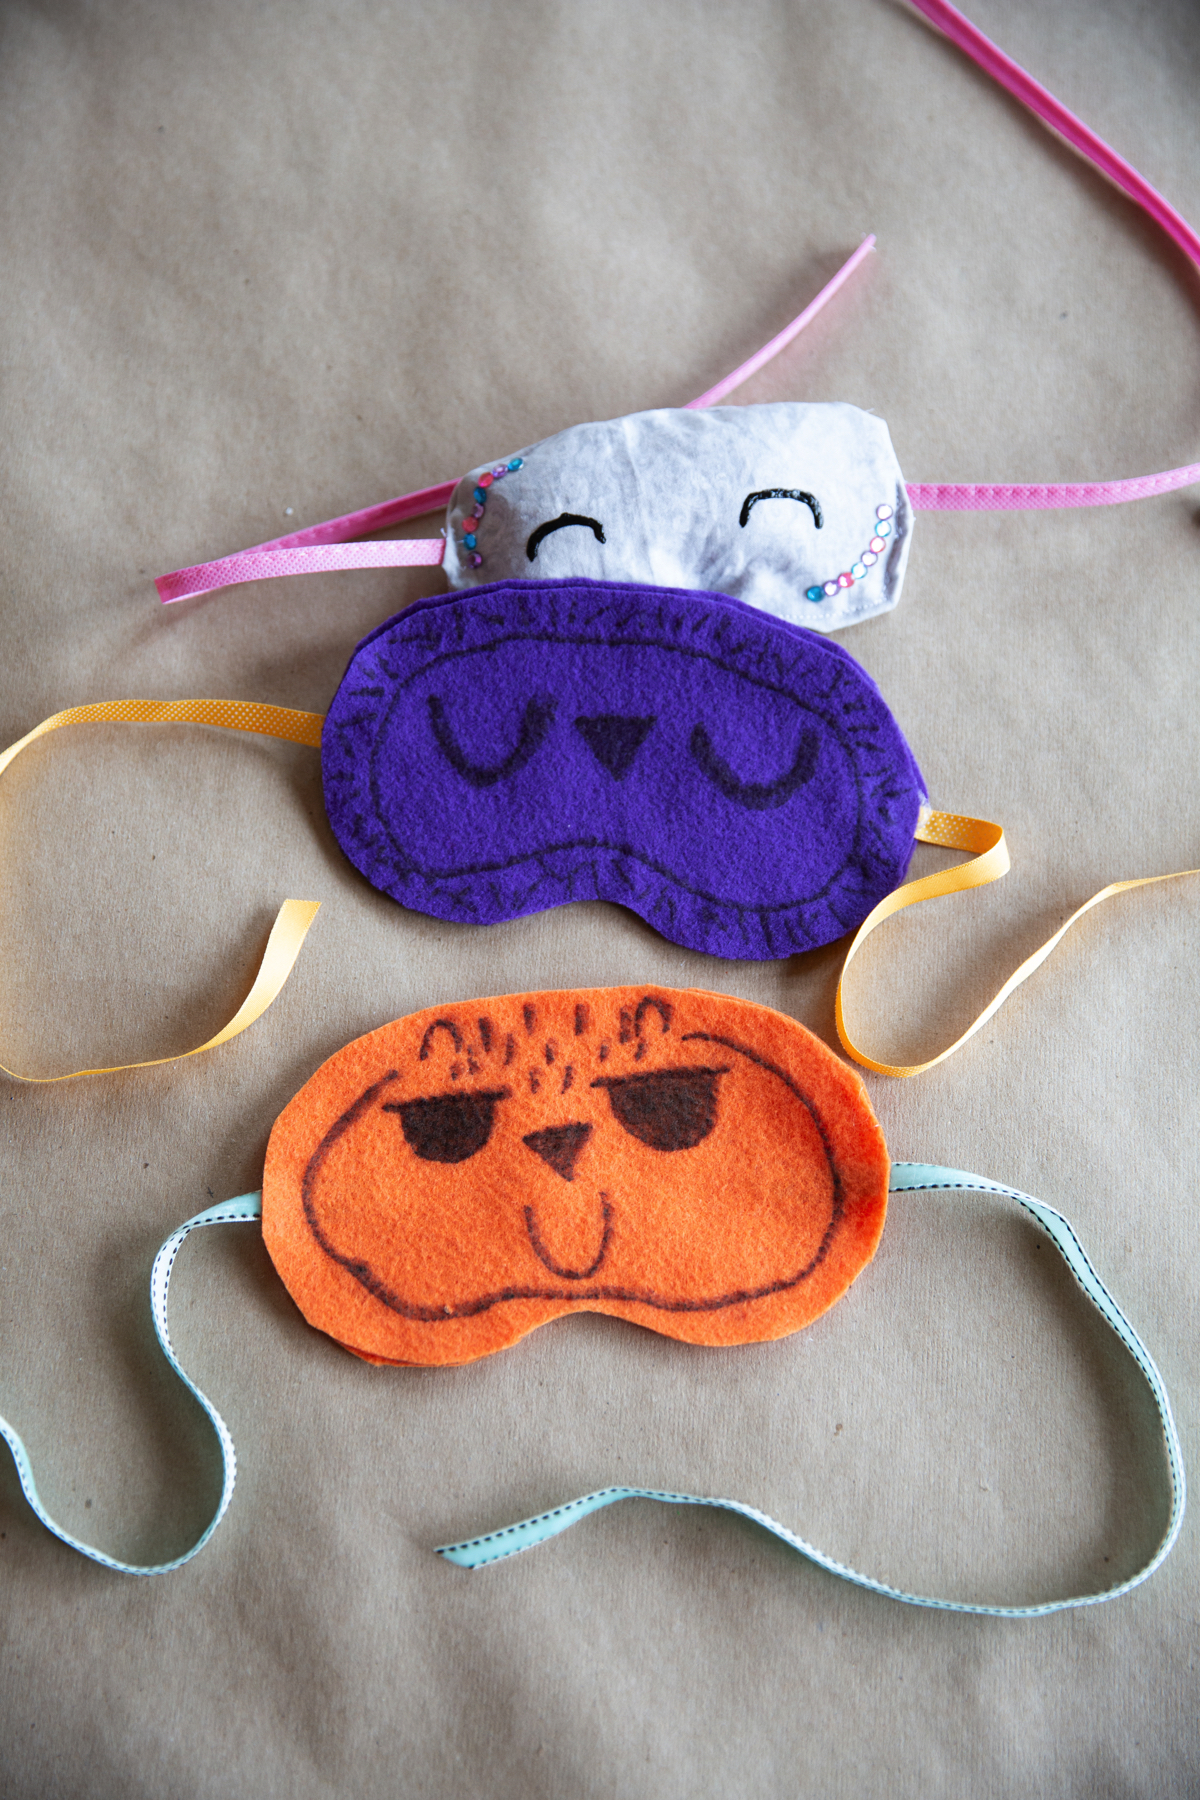
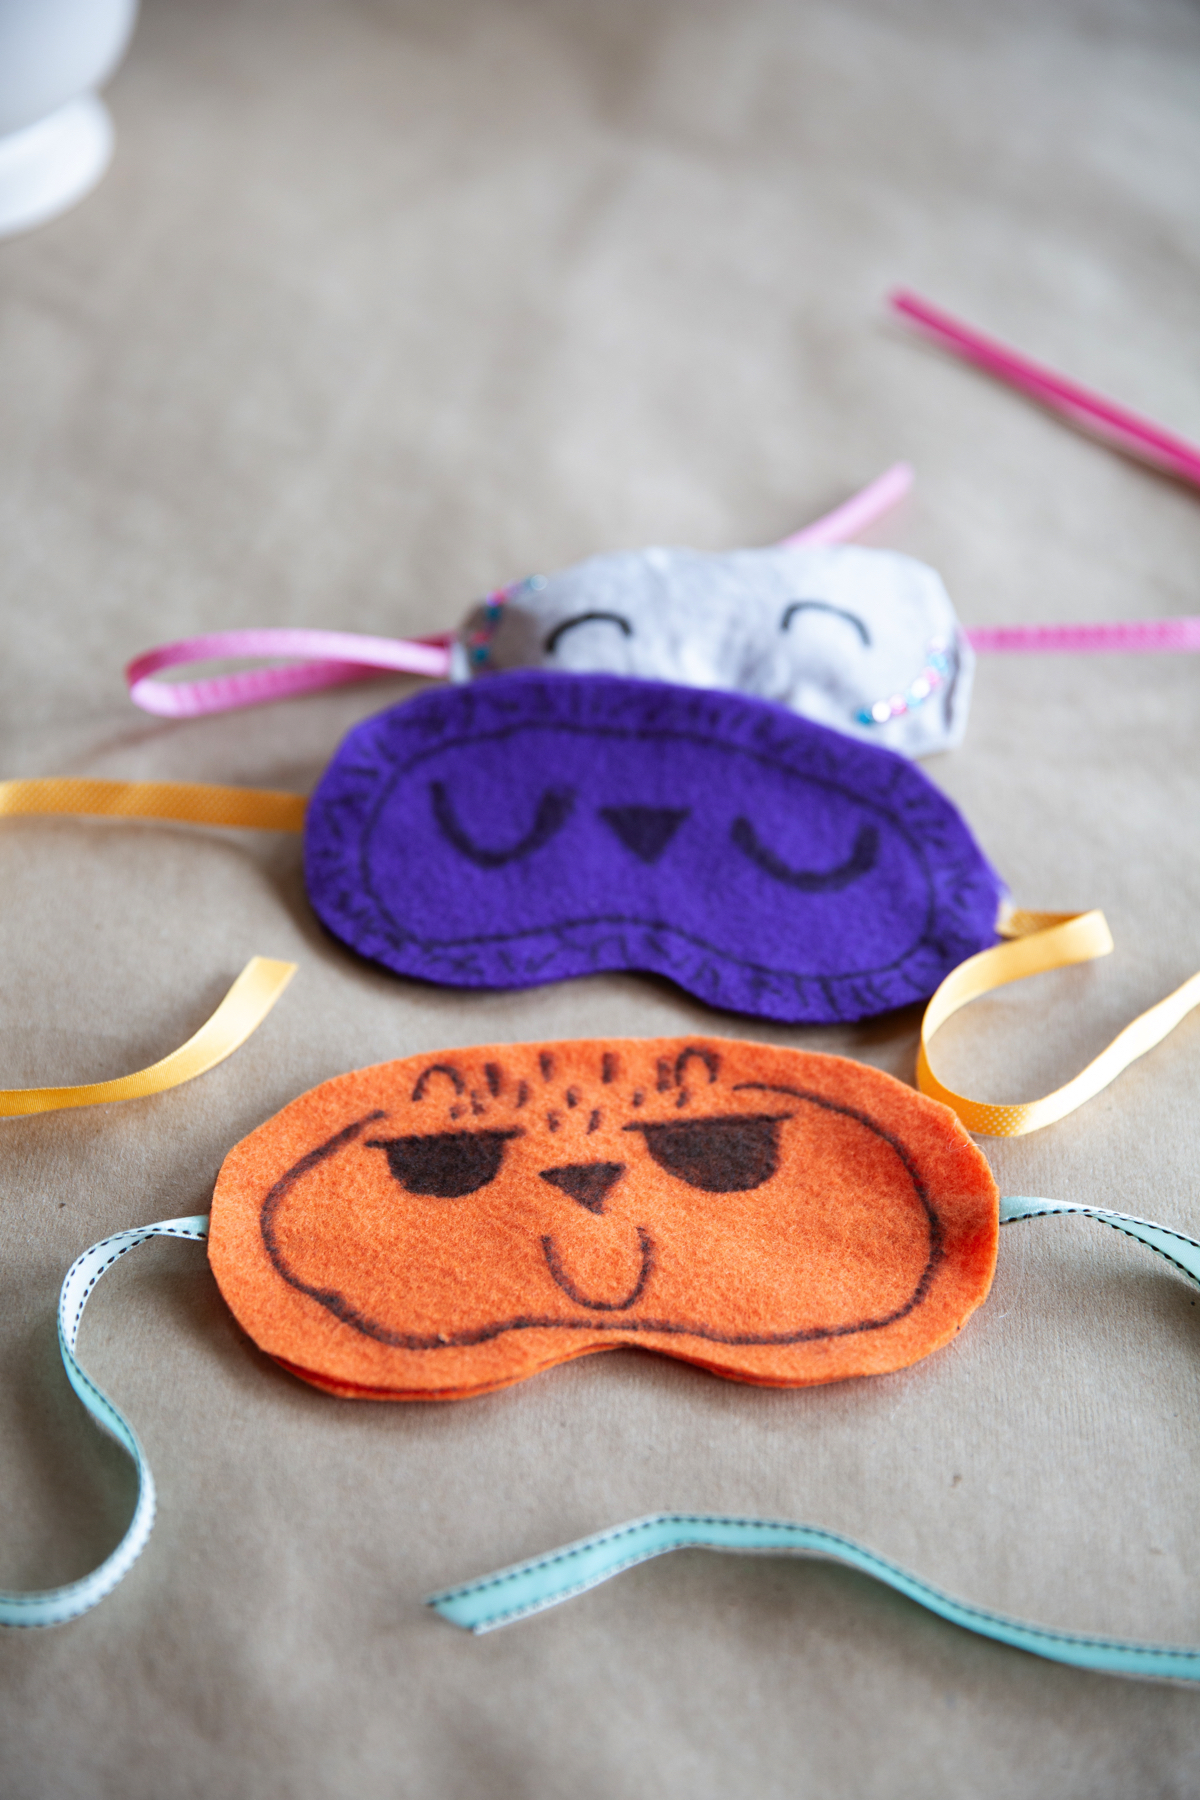
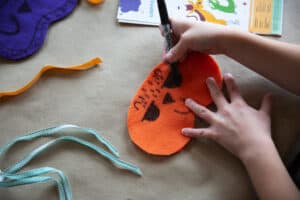
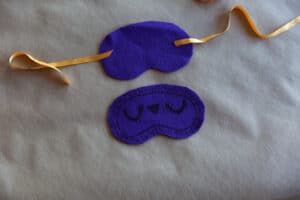
On one piece of the fabric make your sloth face by drawing with a permanent marker or gluing other colors of fabric.
Step 4
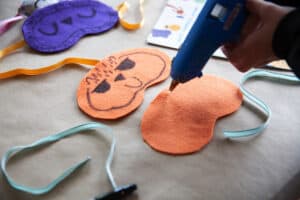
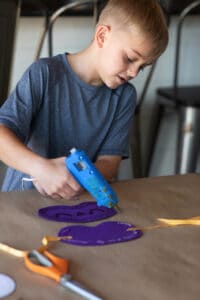
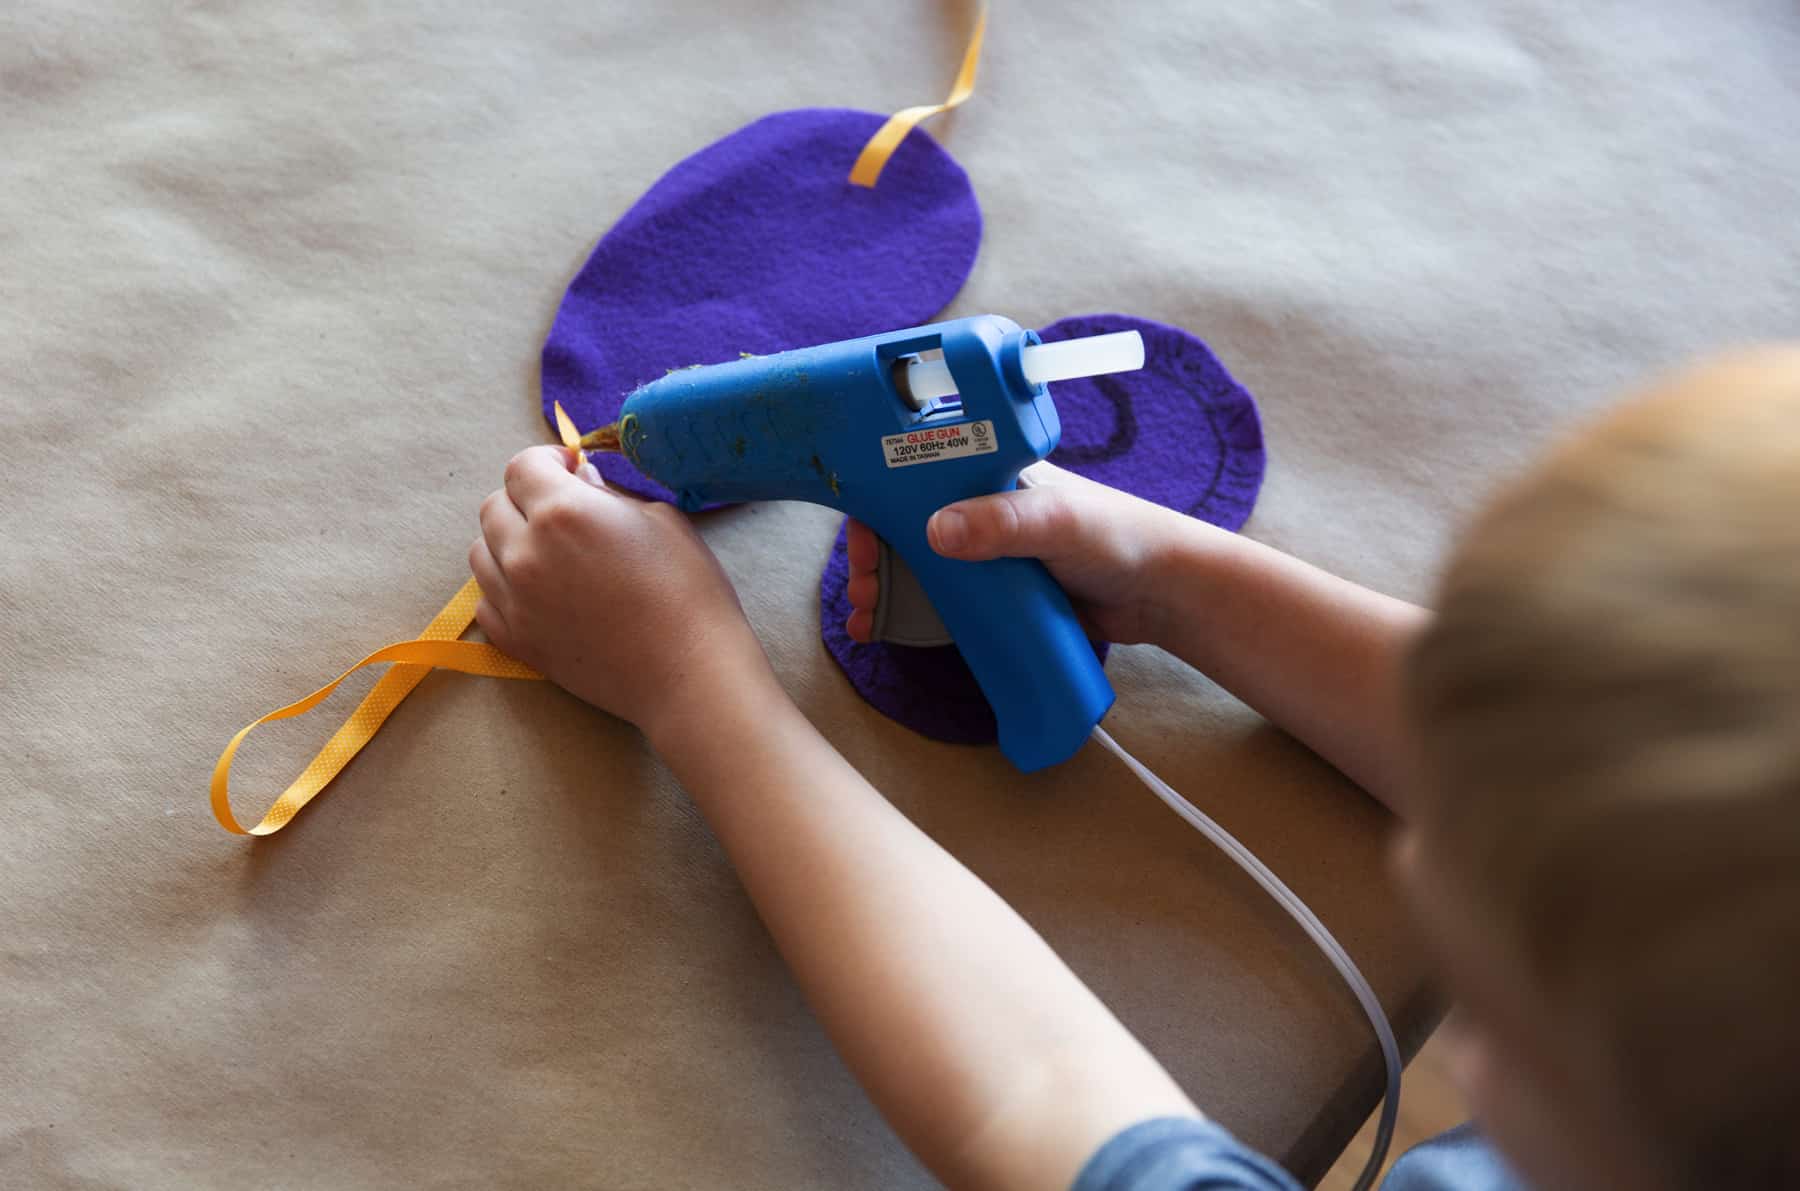
Place one piece of fleece on top of the wax paper in case the glue leaks through. Make sure the soft side of the fleece is facing down. Carefully outline the piece of fleece with glue, making sure you don’t get too close to the edge.
Sewing:
Put the “wrong sides” together, so you can see your sloth face.
Step 5
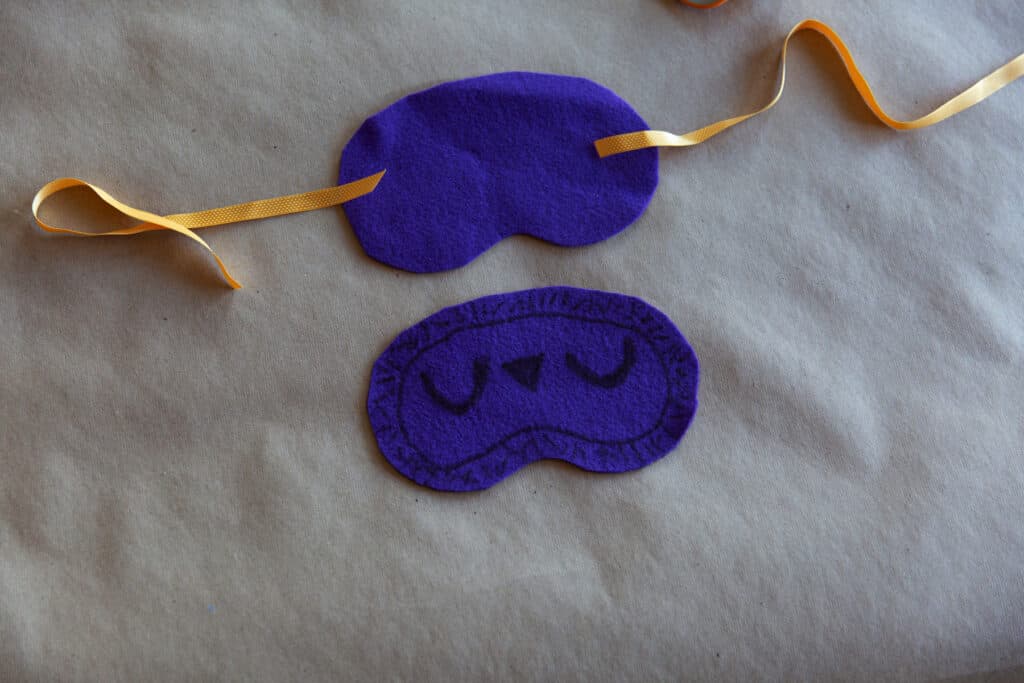
Cut two pieces of ribbon or elastic so they are long enough to go around your head. Place one piece of ribbon on each side of your mask so the end of each ribbon goes over the glue.
Step 6
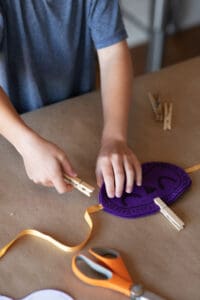
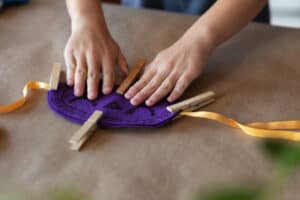
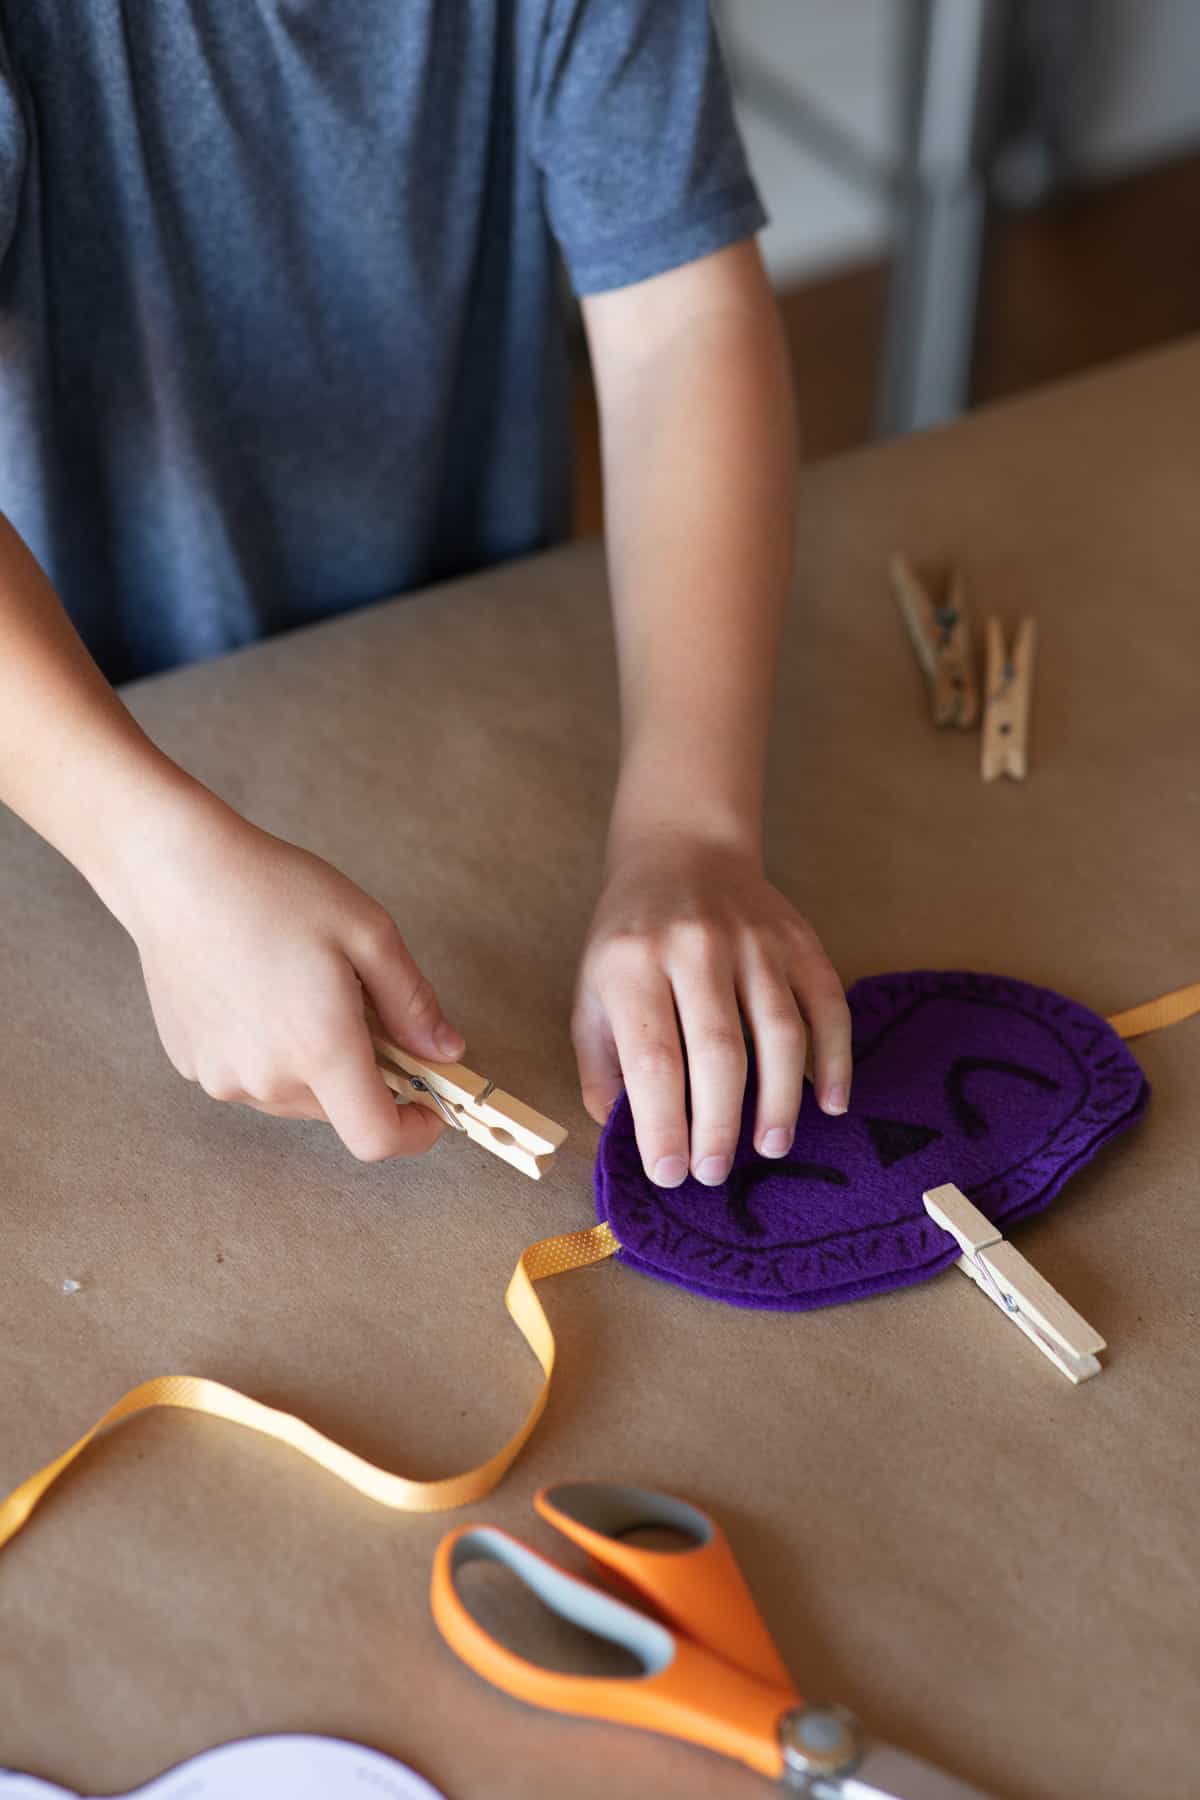
Place your other piece of fleece on top of the glue with the soft side facing up. Put clothespins around the edges to keep everything in place. Try to move the clothespins every few hours if the glue is seeping out.
Sewing:
Start off your sewing just below the right side of the elastic, tucked into your mask, securing it with a few stiches. Use a small stitch and sew all the way around your mask, finishing at the left side of the elastic.
Step 7
Supplies

- Template.
- Fleece scraps or any soft fabric.
- Permanent marker.
- Fabric glue or a hot glue gun.
- Wax paper.
- Ribbon or elastic for ties.
- Clothespins.
If you want to sew your mask:
- Needle and thread
Step 1

Adult help needed. Make your template. You can print out the template on this page. Or you can borrow a sleep mask and trace it or draw one that will fit over your eyes.
Step 2

Choose your fabric and colors. Trace your template on the fabric two times and cut it out. You’ll have two identical pieces.
Step 3

On one piece of the fabric make your sloth face by drawing with a permanent marker or gluing other colors of fabric.
Step 4

Place one piece of fleece on top of the wax paper in case the glue leaks through. Make sure the soft side of the fleece is facing down. Carefully outline the piece of fleece with glue, making sure you don’t get too close to the edge.
Sewing:
Put the “wrong sides” together, so you can see your sloth face.
Step 5

Cut two pieces of ribbon or elastic so they are long enough to go around your head. Place one piece of ribbon on each side of your mask so the end of each ribbon goes over the glue.
Step 6

Place your other piece of fleece on top of the glue with the soft side facing up. Put clothespins around the edges to keep everything in place. Try to move the clothespins every few hours if the glue is seeping out.
Sewing:
Start off your sewing just below the right side of the elastic, tucked into your mask, securing it with a few stiches. Use a small stitch and sew all the way around your mask, finishing at the left side of the elastic.
Step 7


